Publish stories on your own domain
Every Web Story is by default published on Slidy's domain, but you can change it to your own domain. See how it works in this article.
Steps to publish stories on your own domain
Every Web Story is a webpage hosted on Slidy's domain and has its own URL. This URL will include Slidy's domain name stories.zazuapp.co by default but can be changed to a domain name of your choice anytime. There are two main steps when adding a Custom Domain in Slidy:
💡Tip: Publishing Web Stories on your own domain will optimize your SEO performance
1. Add a new domain to your DNS
In order to be able to add domains to Slidy you have to add them in your Domain Name System first. Simply follow these steps which are also listed in Slidy:
Step 1: Login to your DNS (Domain Name System) manager. Step 2: Add a new CNAME DNS entry for your subdomain with the value custom-domain.zazuapp.co . Please note that the validation may take a few hours to apply.
2. Add a Custom Domain on Slidy
The second thing you need to do is go to the Publishing section in the Settings page and click on the plus to add a new domain. Then, enter the subdomain name in the input field on and click "Verify domain".
Depending on your company's structure you might want to add multiple Custom Domains - simply repeat the process for every new domain.
3. Publish your Web Story to your own domain
Once your custom domain is successfully added, you can see it appear in the publishing process as you can see in the image below. You are able to decide to which domain you want the Story to be published to and get the URL including the correct domain.
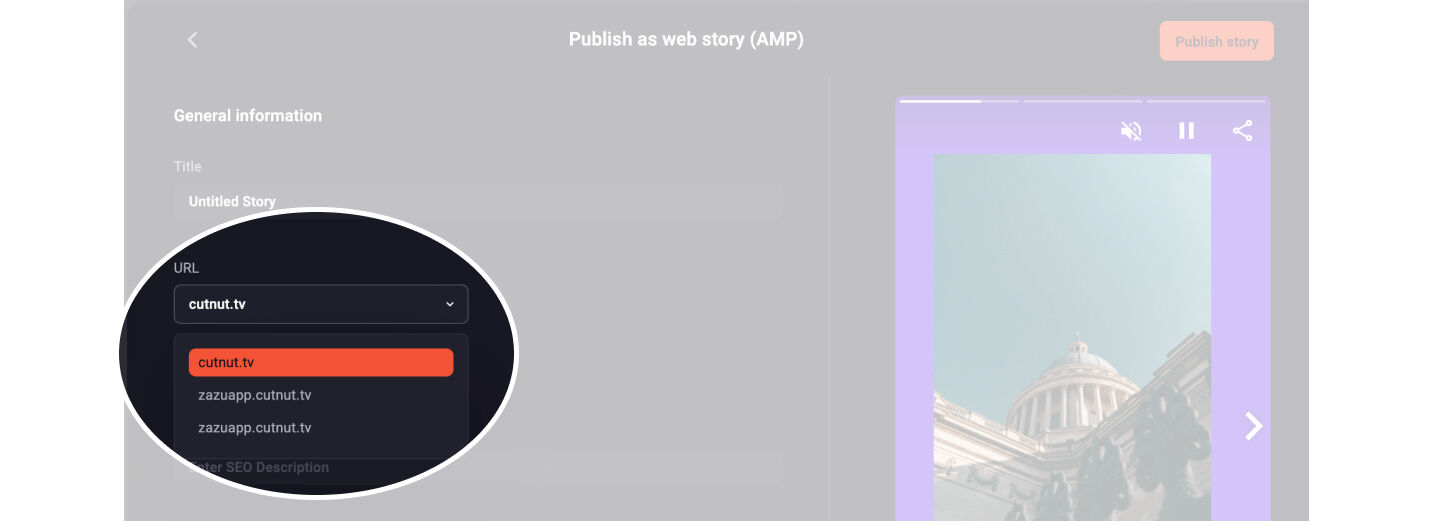
That way you can set the right domain for every single Story!