How to create your first Story
Learn how to build Stories by getting a quick overview of the most important editing and publishing functionalities!
Follow this video and create your first Story:
Steps to create a Story
1. Where to create a Story
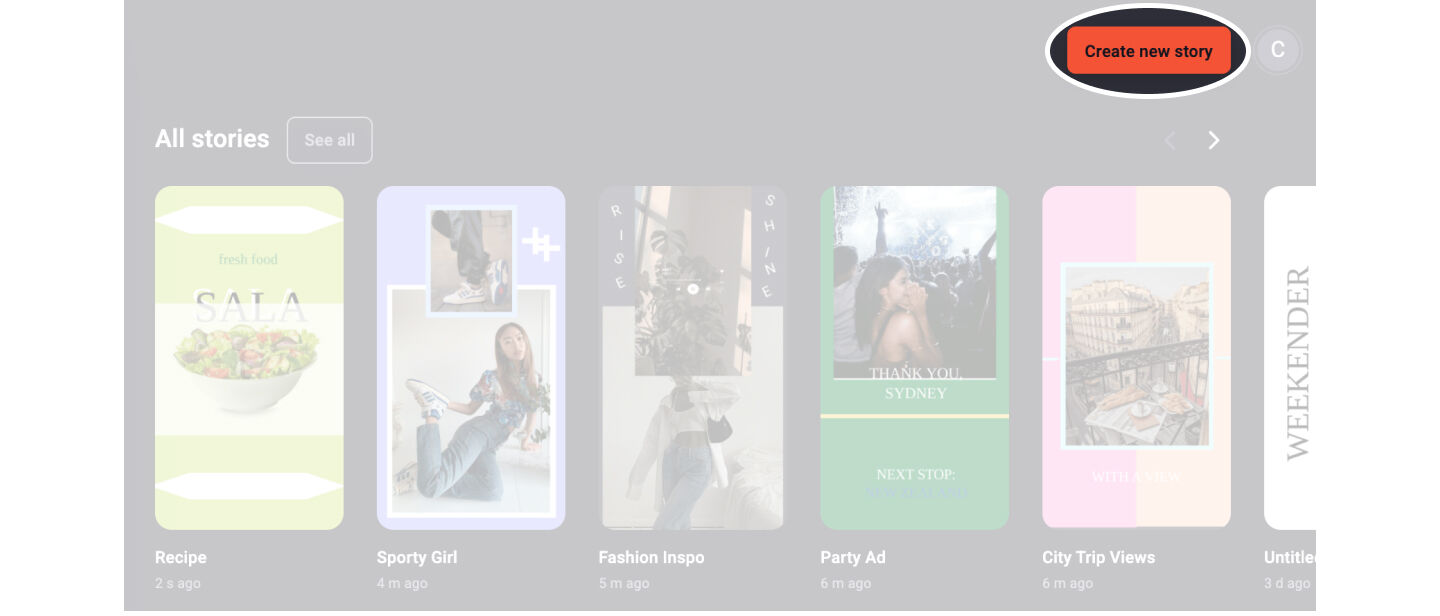
Click on the button in the right corner to create a new Story and access the editor:
💡 Tip: Before starting to add layers you can choose a background color from the inspector sidebar on the right
2. Add layers
Pick a layer type from the left toolbar and choose the preferred object by clicking on it. The object will appear on your first artboard.
3. Edit layers
You can edit the layers inside the Story by dragging the size or moving the object. For more settings click on the layer and define the parameters on the right.
4. Add new artboards
If you are done with your first artboard it is time to go on with the next one! To add a new artboard click on the small plus at the artboard overview at the bottom of the screen.
5. Publish the Story
After creating all of your artboards and finishing your Story, you can directly publish it. To do so you have to click the publishing button in the upper right corner and select the Story format.
- If you choose to publish as a Web Story you will get to the publishing settings page.
- If you want to share your Story on Social Media, you will receive your Story directly in your email inbox in a few minutes.
Read more detailed Story editing infos at Design Stories.